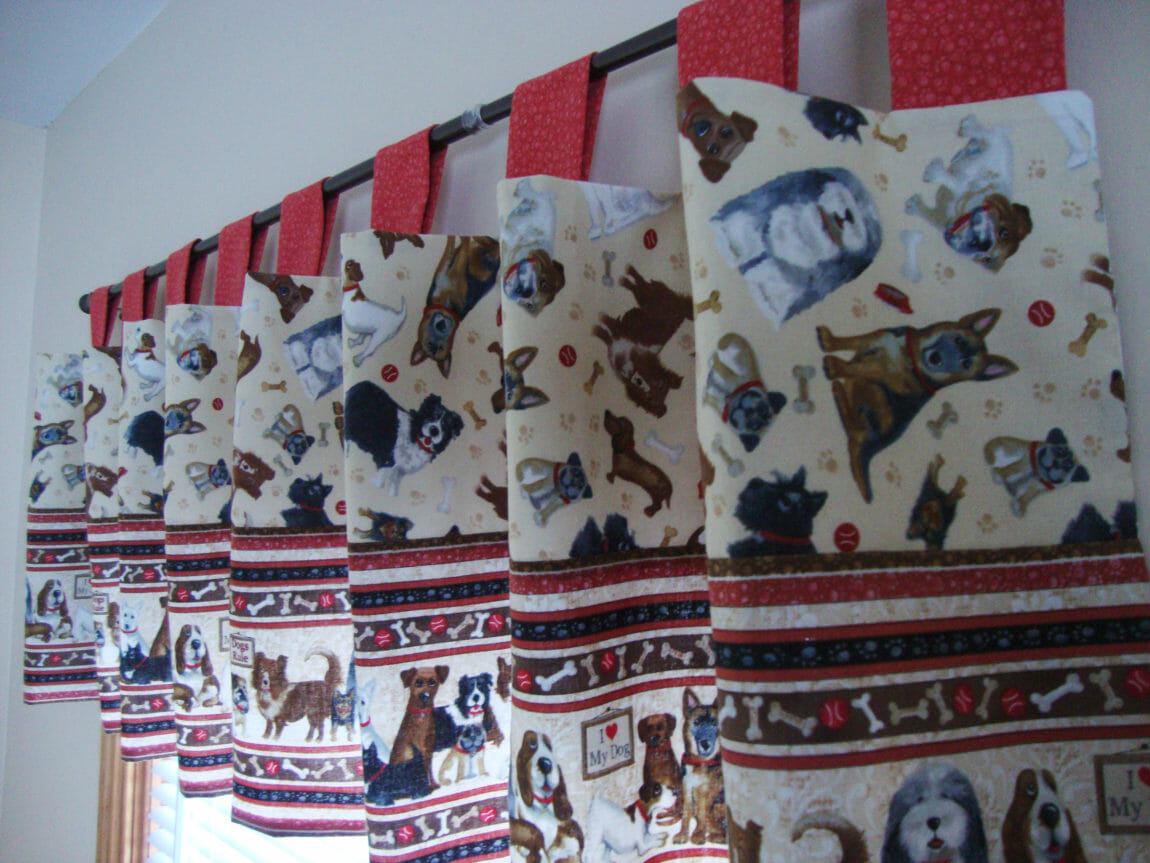
Tutorial: How to make tab top valances
Let me start this tutorial off with a disclaimer. I am a quilter first, a home decor seamstress second and a bad knitter third. My advice and instructions are based of my knowledge of how to put a quilt together. That means my suggestions may be different than what you’d find on a home decor blog. But the results are pretty darn cute, so if you too are comfortable with a quarter-inch seam, keep on reading.
For those of you following along with my sewing room to nursery transformation, know my goal is for the room to look like a perfectly coordinated Potty Barn catalog, just I’ve created all the decor. That means making my own valances to match the Puppy Love crib quilt the room is designed around.
I pieced my valance front with a quilting border print and an additional piece of yardage. If you would like to do the same instead of creating the valance from a single piece of fabric, click here. The rest of the instructions will treat the upper fabric as though it is one piece, or already pieced together.
Measure your window from the outside of your casing. Multiply that number by two, round up to the nearest multiple of six and add half-an-inch for seam allowances to get the width of your curtain fabric. The valance body height is 12.5 inches with the seam allowances included
For example, my window measured 33 inches wide. When I multiple that by two I get 66 inches, which is a multiple of six. Then I added half-an-inch and cut my valance to measure 66.5 inches wide by 12.5 inches tall.
Cut the curtain lining fabric to the same measurement as the valance.
Now you’re done with the valance body. It’s going to quickly! We’re going to sew the tabs with six inches in between each one. So divide the width of your valance by six. In my 66 inch wide valance, that added up to 11, so that’s how many I needed to make. We’re going to cut these to 6.5 inches wide, so if you’re using 44 inch wide quilting fabric, you can get six out of each width of fabric. If you’re using 52 inch wide home dec fabric, you can get seven or eight depending on how wide your selvage is.
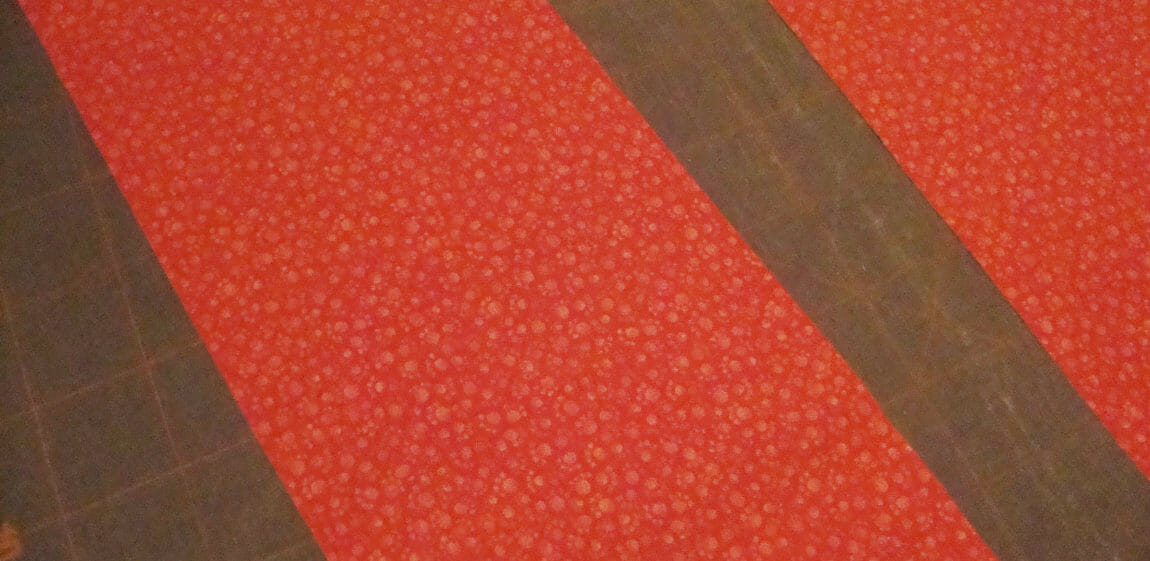
Cut as many 4.5 inch by WOF strips as you need to make the amount of tabs for your valance width.

With the right sides together, sew a quarter-inch seam along the long side of the fabric.

Flip the fabric tube so the right side is facing out. Press flat. The fabric should now measure 2 inches wide by the WOF.
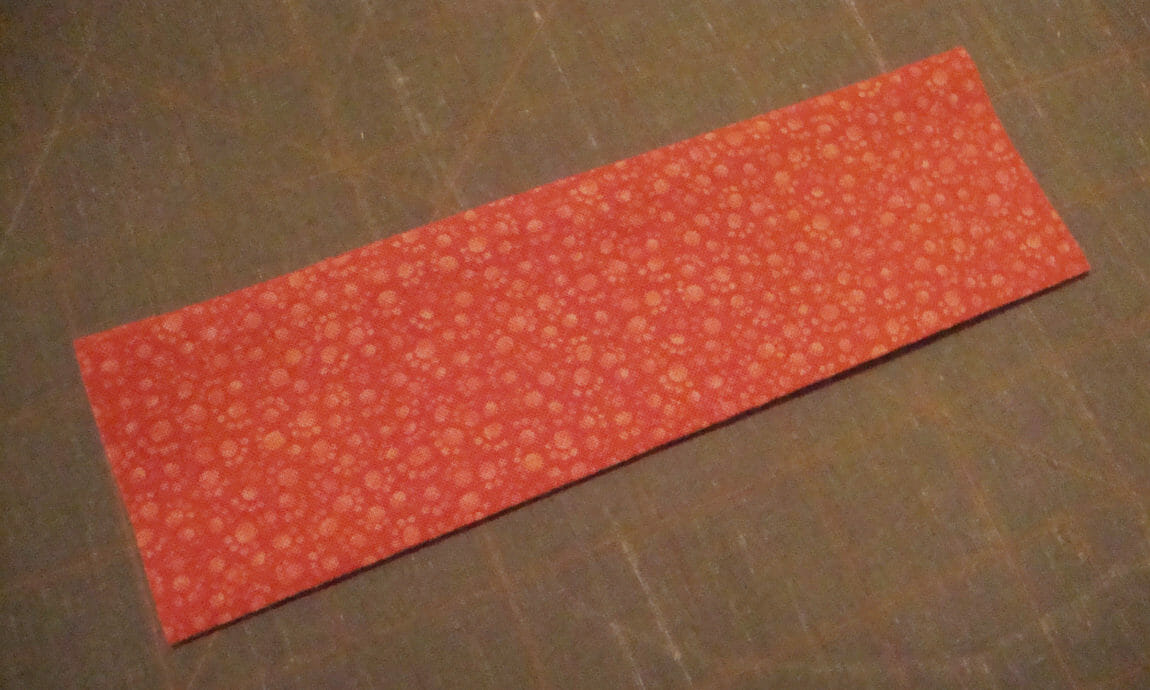
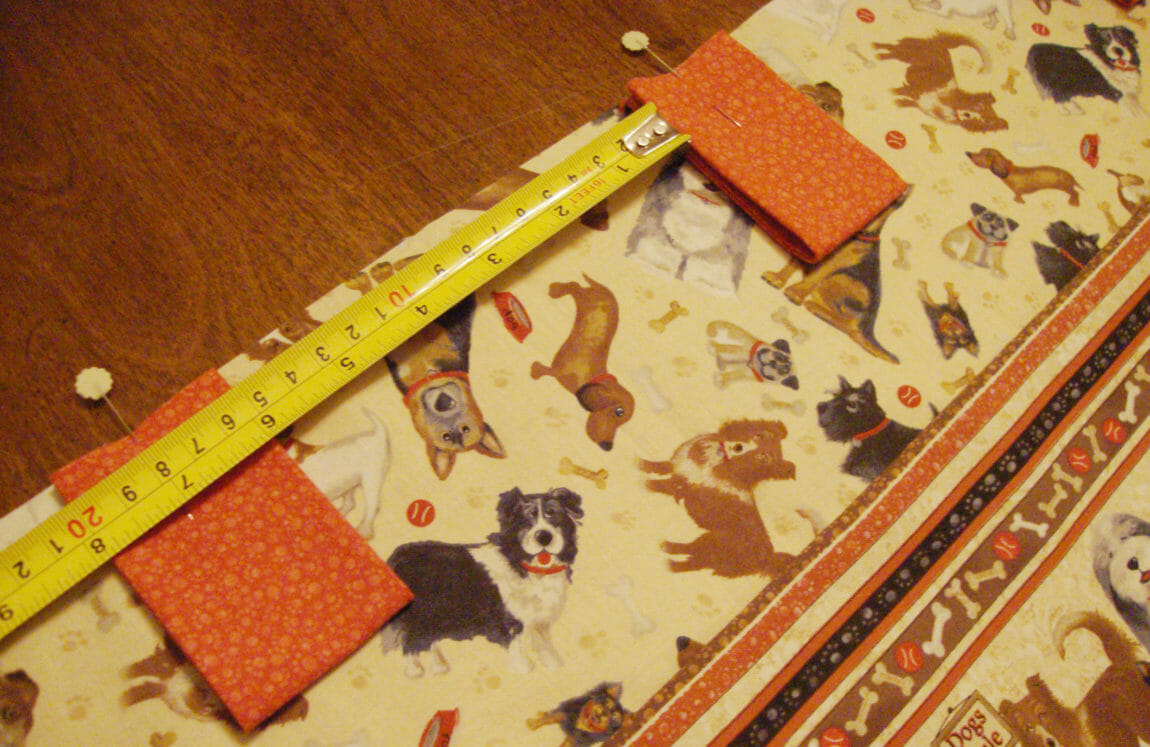
Cut the fabric tube into 6 1/2 inch by 2 inch strips, these will be your fabric tabs.
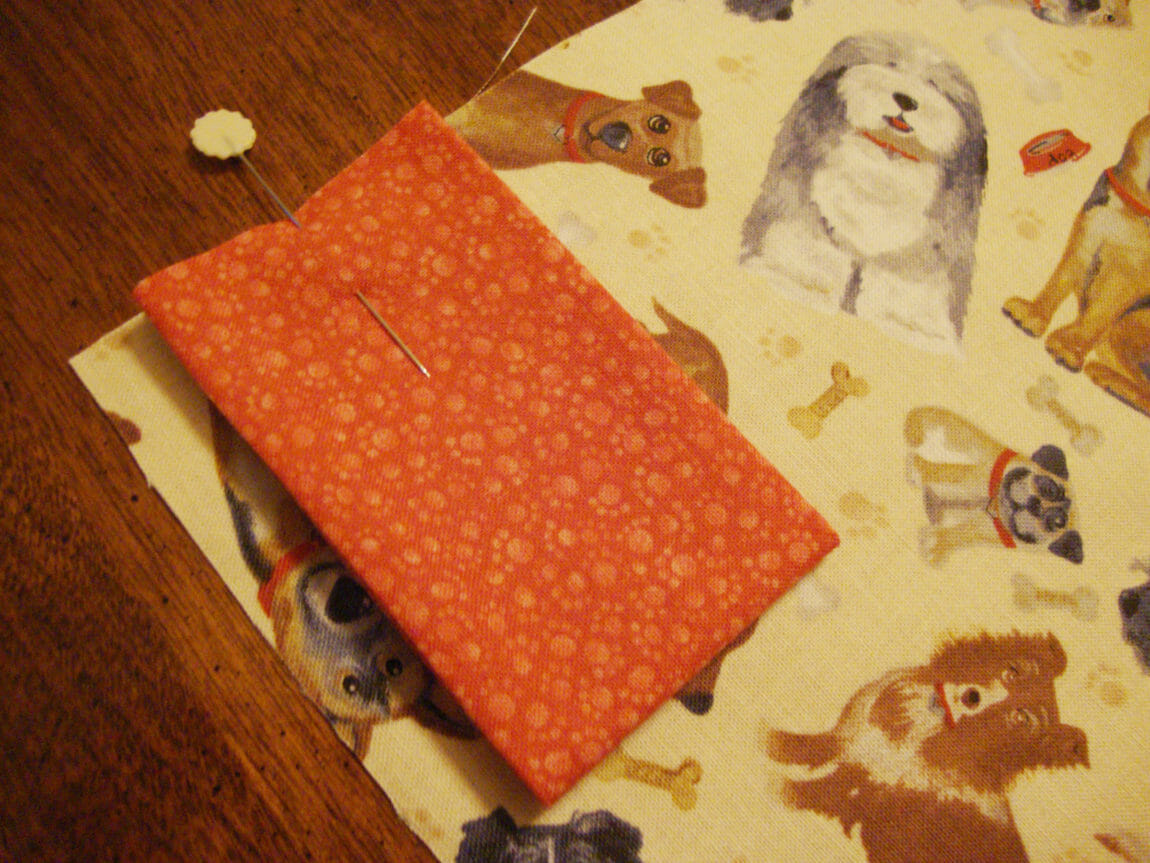
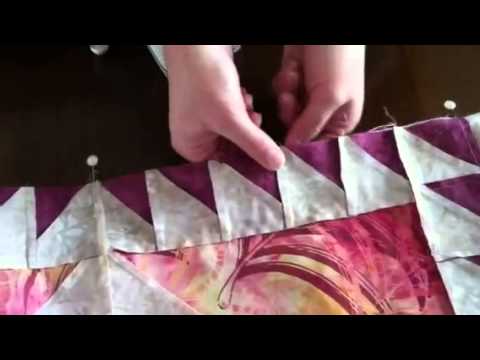
Fold the tab in half and pin the first one so that it is half-an-inch away from the top corner of the fabric valance. One tip: It doesn’t matter which side your seam is on for the tabs, but for a professional look, make sure they all face the same direction.
Continue to pin tabs to the top of the valance, leaving 5 to 6 inches between each tab. It doesn’t matter which number you choose, just as long as the width in between the tabs is consistent. This may take some arranging to make the gaps even.
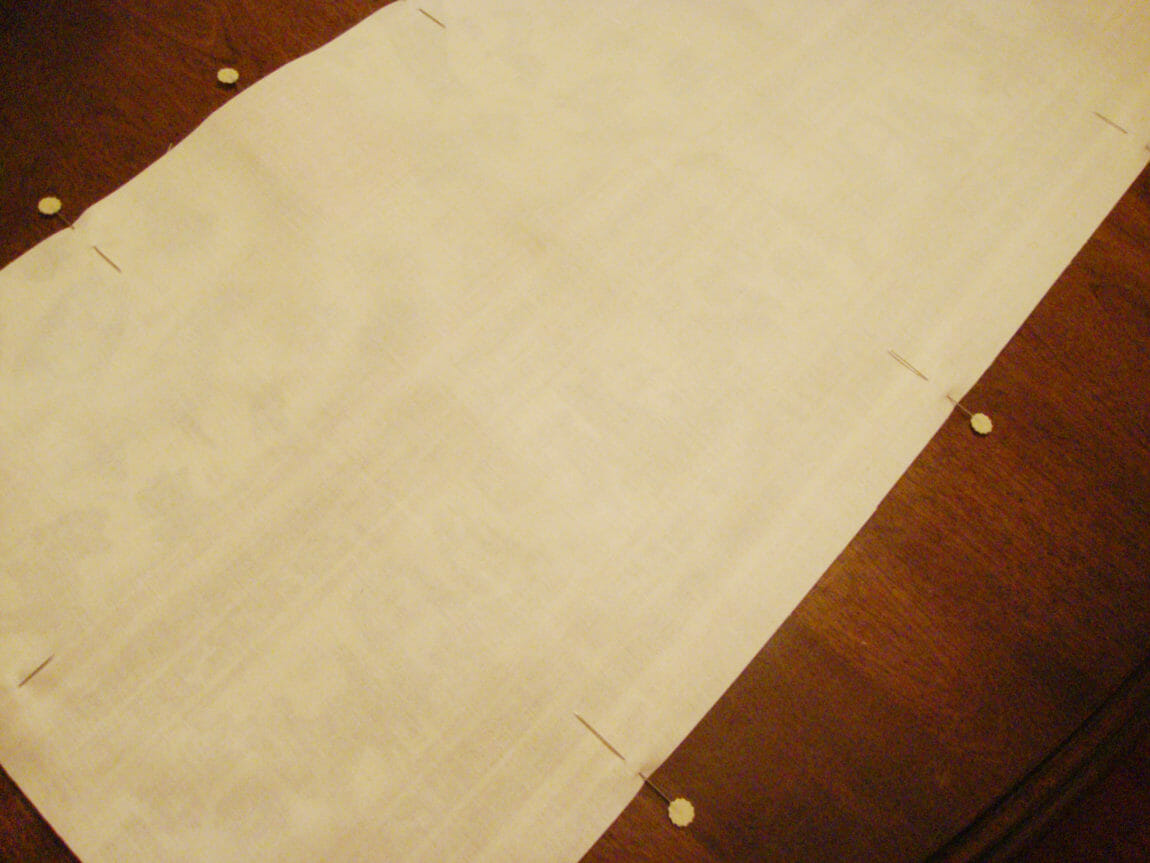
With the right sides together, lay the curtain lining on top of the valance front. Pin together along all four sides.
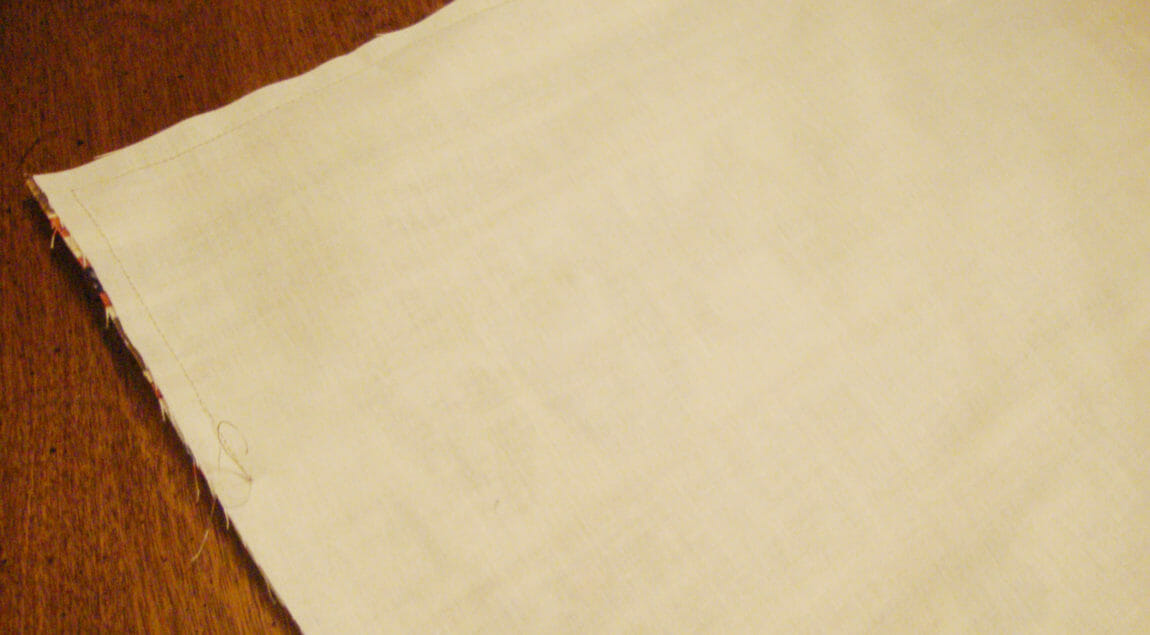
Sew a quarter-inch seam around the valance top, leaving a hole for turning on one of the short sides.
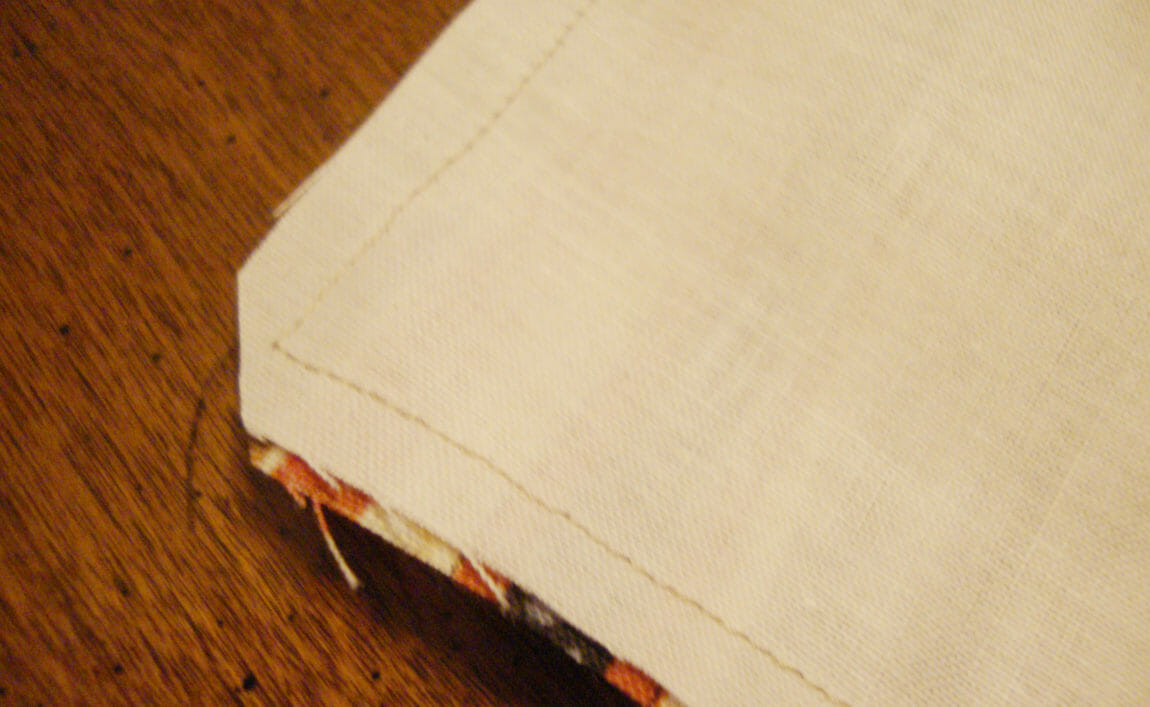
Trim corners, being careful not to cut through the seam allowance. This will make for sharper corners when you turn the valance right side out.
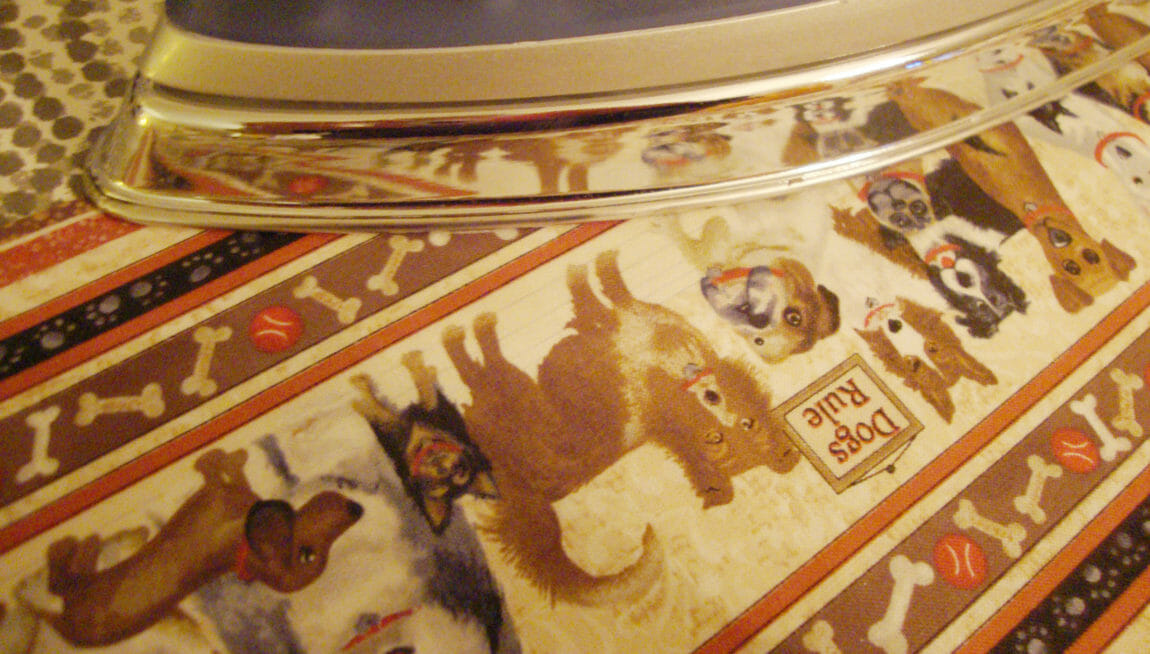
Press curtains flat around the edges. I used steam to help ensure a nice crisp edge. Be careful to ensure the curtain lining is not visible from the right side of the curtain.

Use a blind stitch to close the opening you left for turning. This must be done by hand in order for it to be invisible.
Hang your curtain rod four inches higher and one inch to the sides of your window casing. That will ensure the tab top valance covers all of the window and give the illusion that your windows are taller than they actually are. Then hang your valances and arrange the pleats so the gaps between tabs form uniform waves.
Snap a picture and share your beautiful new custom tab top valances with all your friends on Facebook, Twitter and Instagram.


Thanks for the post. I am going to try to make these. 🙂
Thank you SO much for the wonderful instructions. I made a valence for my office and it came out lovely. Thanks again.