Chalk paint, stencil sewing cabinet makeover
My addiction to sewing and chalk paint have come together for my latest sewing cabinet makeover. Plus I’ve got an exclusive coupon code from Royal Design Studio save on your own sewing cabinet makeover.
Just visit www.royaldesignstudio.com and enter QAA15 before Monday, April 15, and you’ll get 15 percent off your purchase.
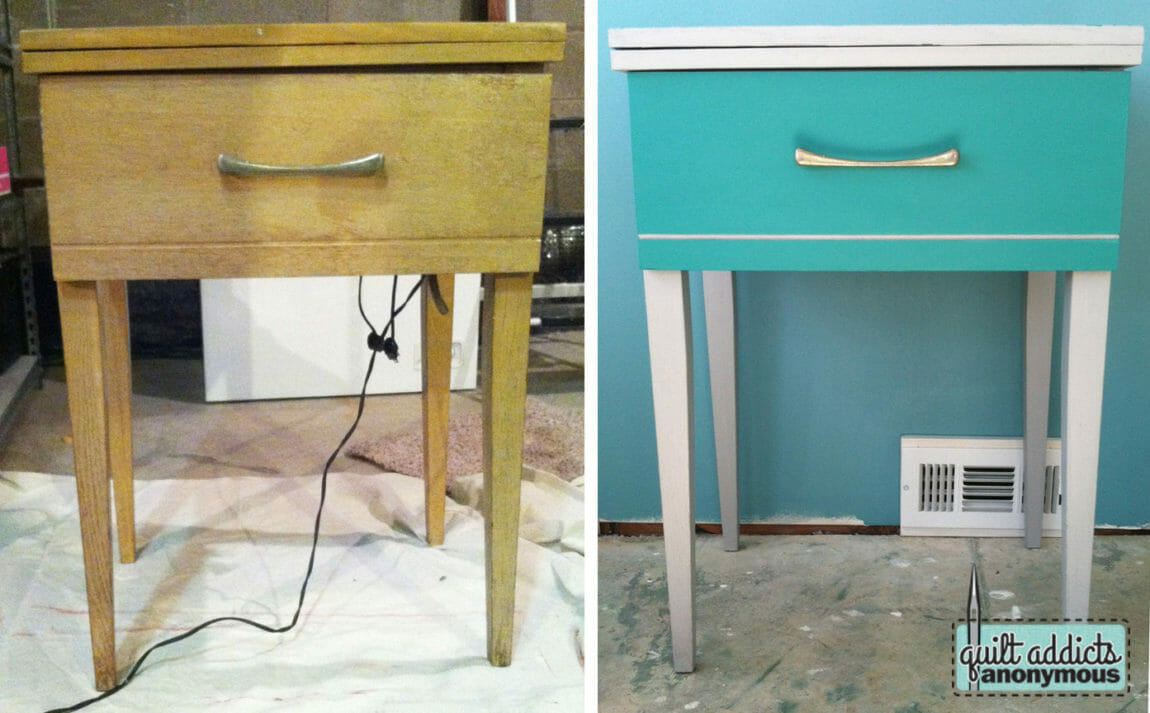
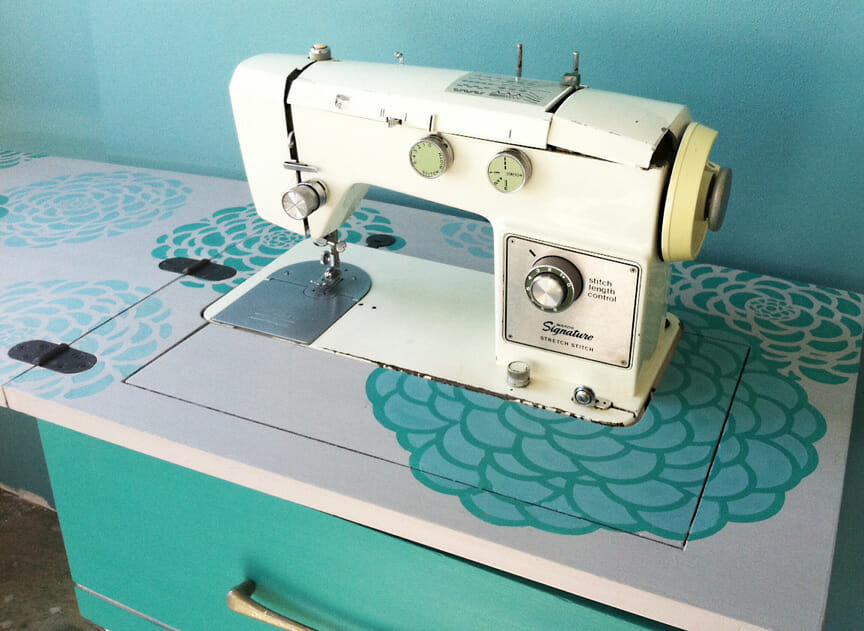
Now onto the good stuff. This cabinet and sewing machine was my grandmother’s. I’m fairly certain the sewing machine is the one she helped me sew my first doll dress on when I was a child. I wanted to feature the cabinet in my new sewing studio/office, but the blonde wood did not work with the aesthetic I planned.
So I picked up some Annie Sloan Chalk Paint in Paris Grey, Provence and Florence, and the Bloomers Furniture Stencil from Royal Design Studio and got to work.

First I took everything apart that was screwed on or held together by hinges. This will help give you easy access to all the parts of the sewing cabinet you need to paint and will cut down on the taping. With Annie Sloan Chalk Paint, that pretty much all the prep you have to do. There’s no sanding or priming. You can just get straight to painting.
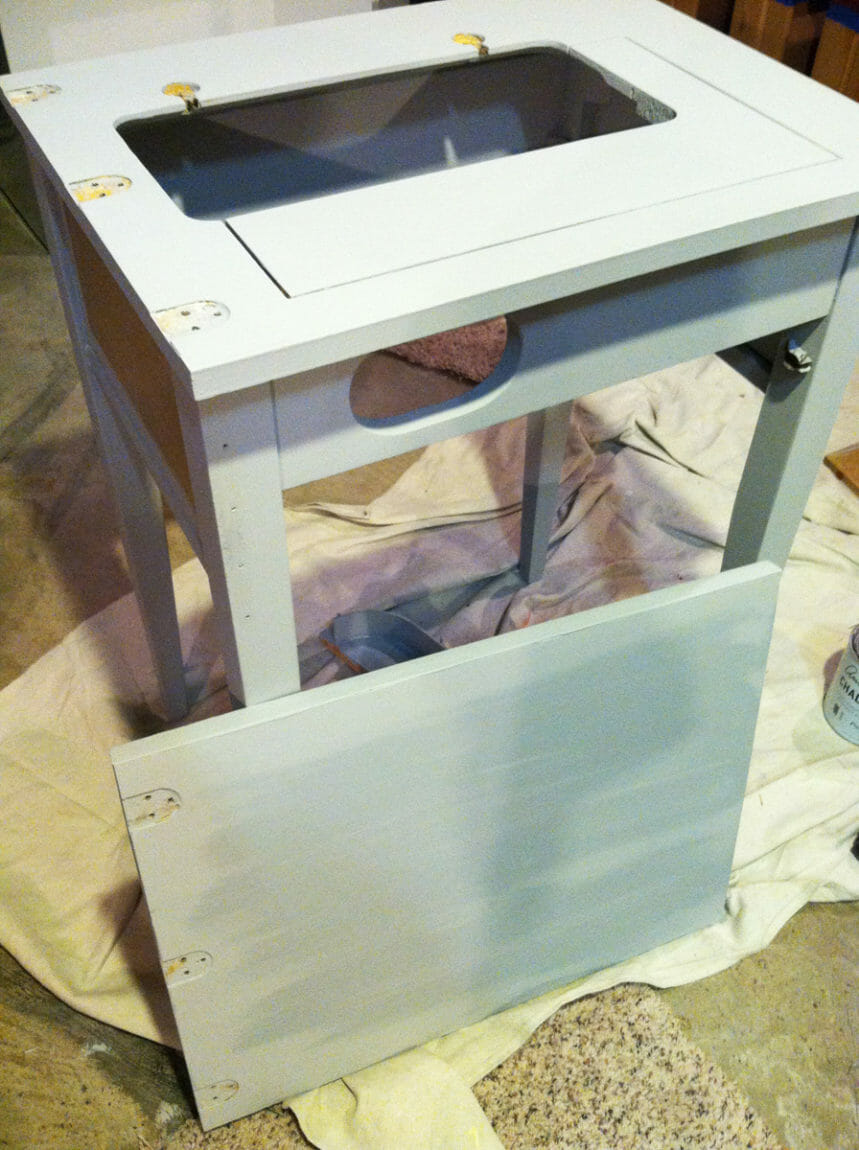
Then I got to work painting the cabinet inside, outside, the flap that opens on the top of the cabinet and the hinged door with the base coat of Paris Grey.

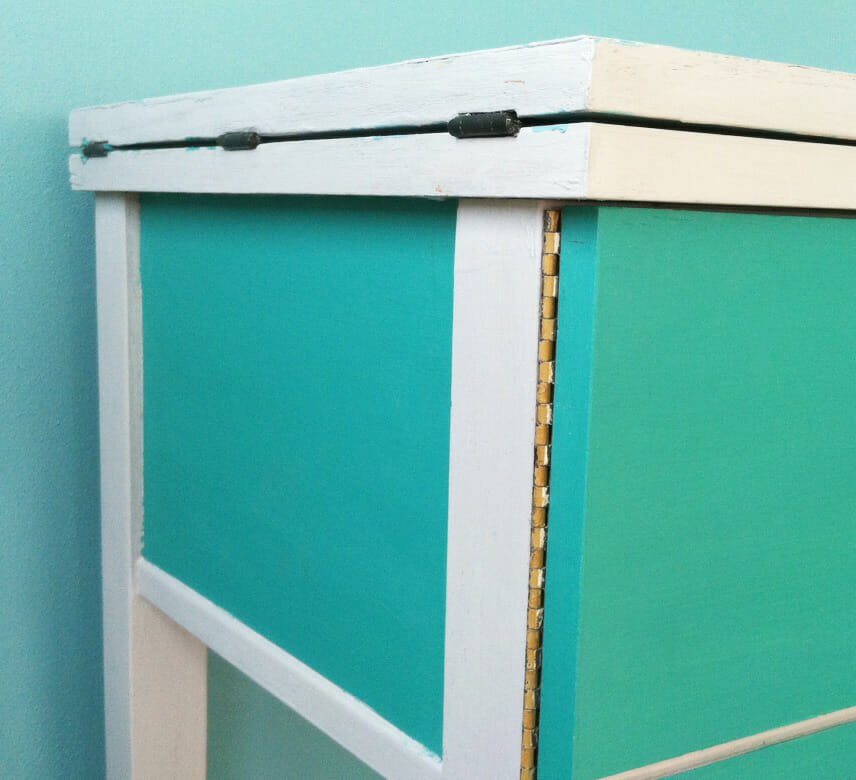
Once that coat was dry I taped off the edges so I could use the Florence on the sides and front of the sewing cabinet, providing contrast.
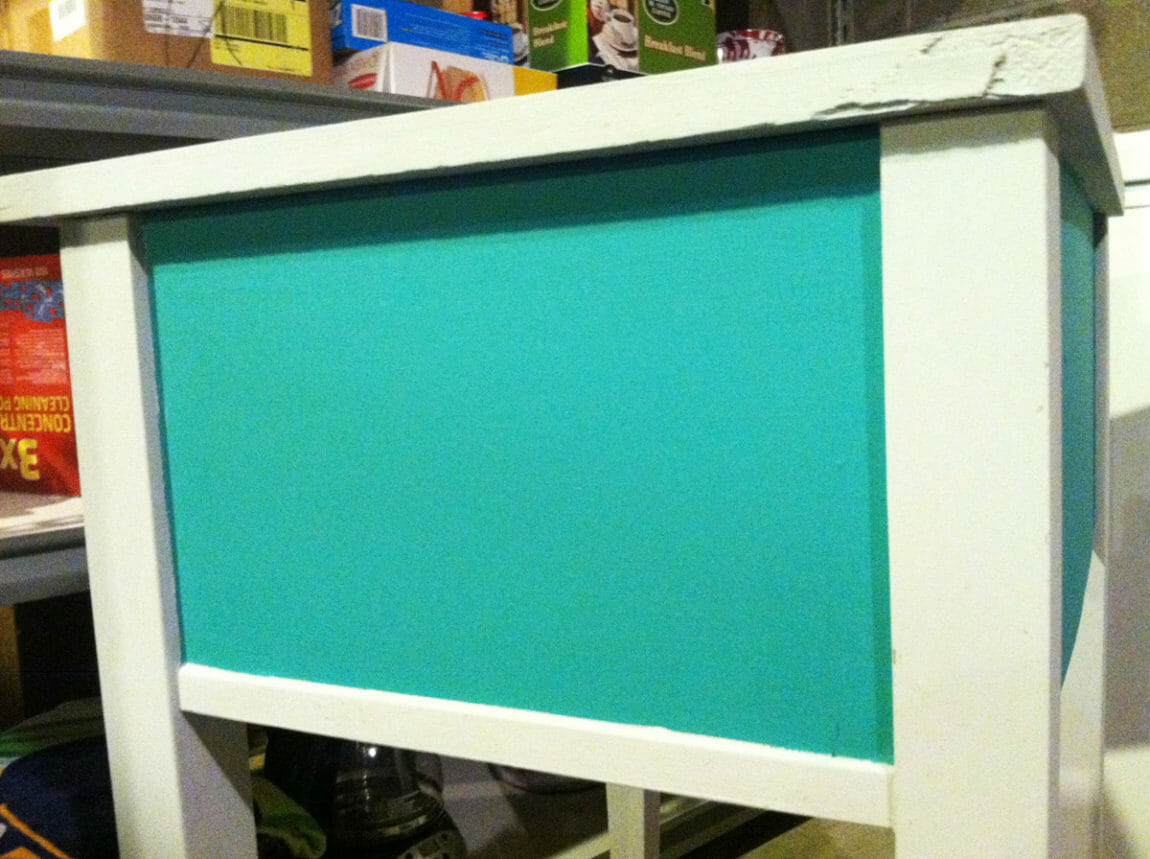
One tip I’ve learned is to remove the tape immediately after you are done painting while the paint is still wet. That will help you achieve clean lines without chipping or bleeding.
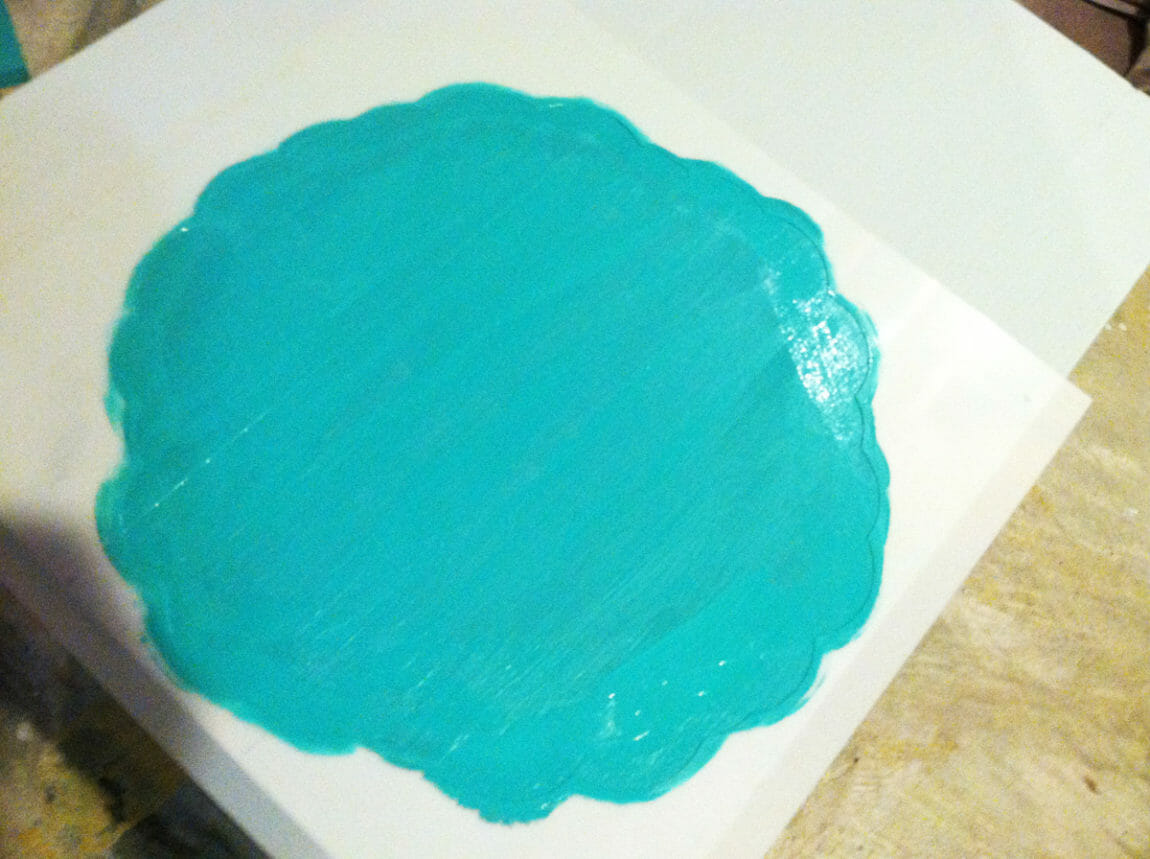
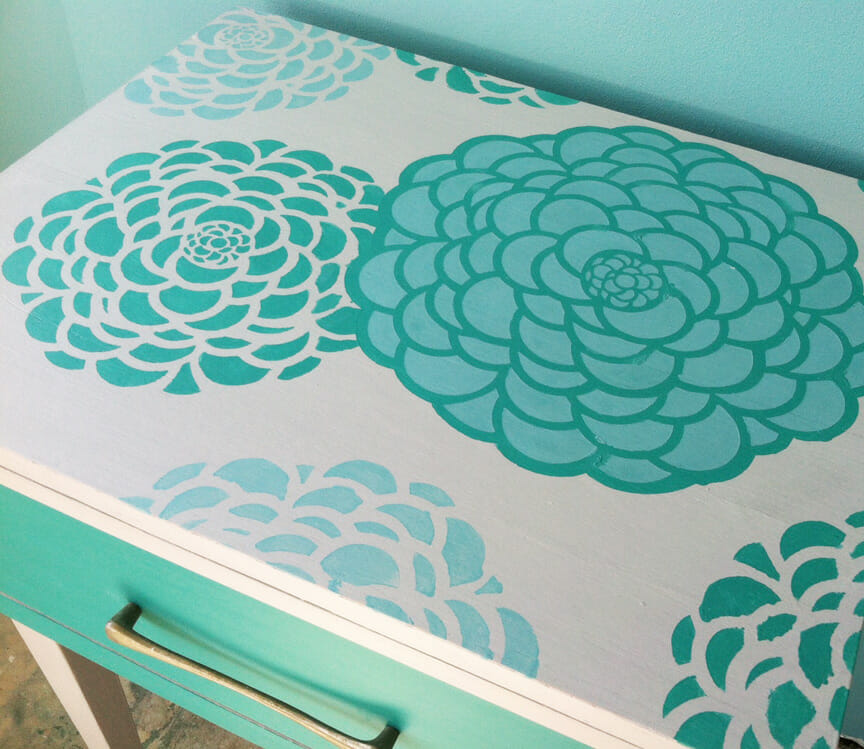
Then it was time to stencil the top of the sewing cabinet. The Bloomer stencil set comes with two sizes of flowers. Each flower has a cutout so you can fill in the background of a flower with a base color, like I’ve done above, the stencil with the flower petals on it and a third inset that fits over flowers you have already painted so you can add flowers without accidentally getting paint where you don’t want it. More on that later.
In this photo I filled in the cutout with the Florence paint to provide a base for the flower petals.
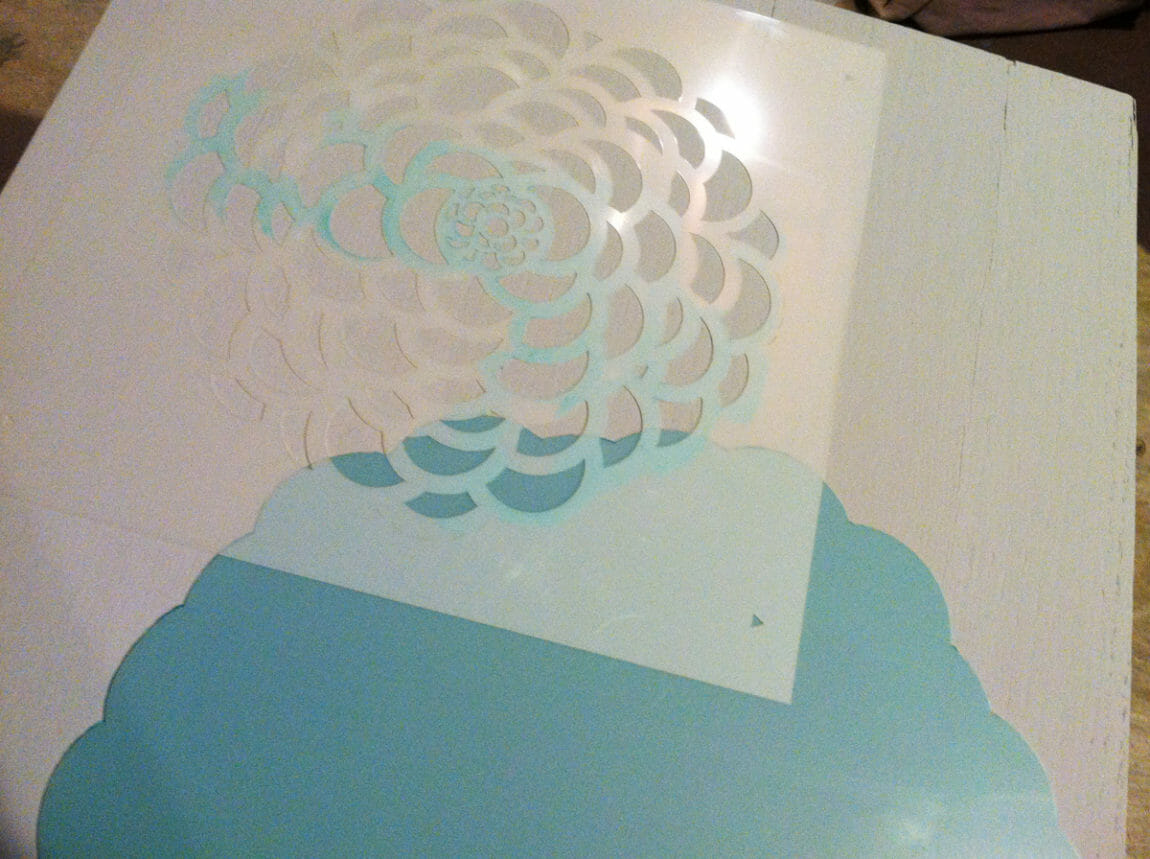
Once it was dry, I laid the cutout over the painted flower, taking care to match ll the edges. Then I laid a smaller flower stencil over it and painted it using a stenciling brush with Florence.

When you want to add a stencil over a cutout, you just line the stencil up once the paint has dried.
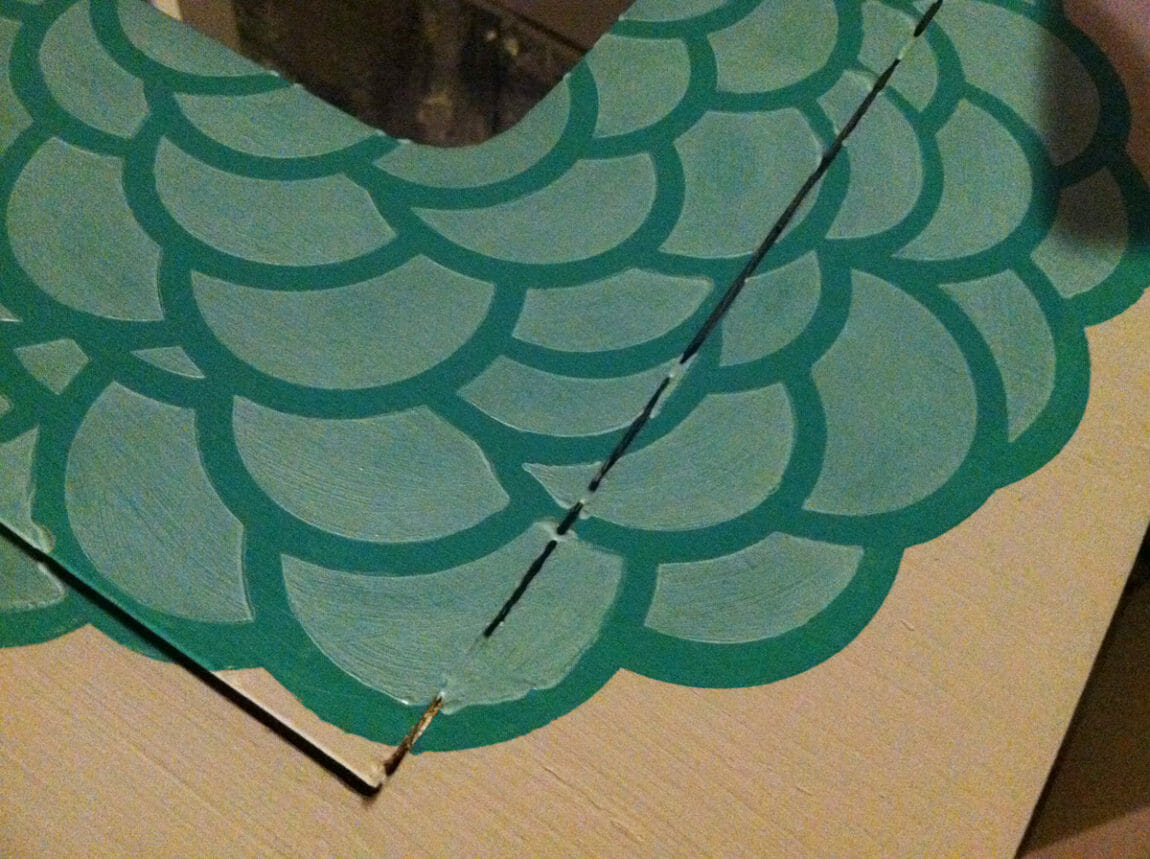
Then fill the stencil in with a different color. I used Provence for my flower stencils.
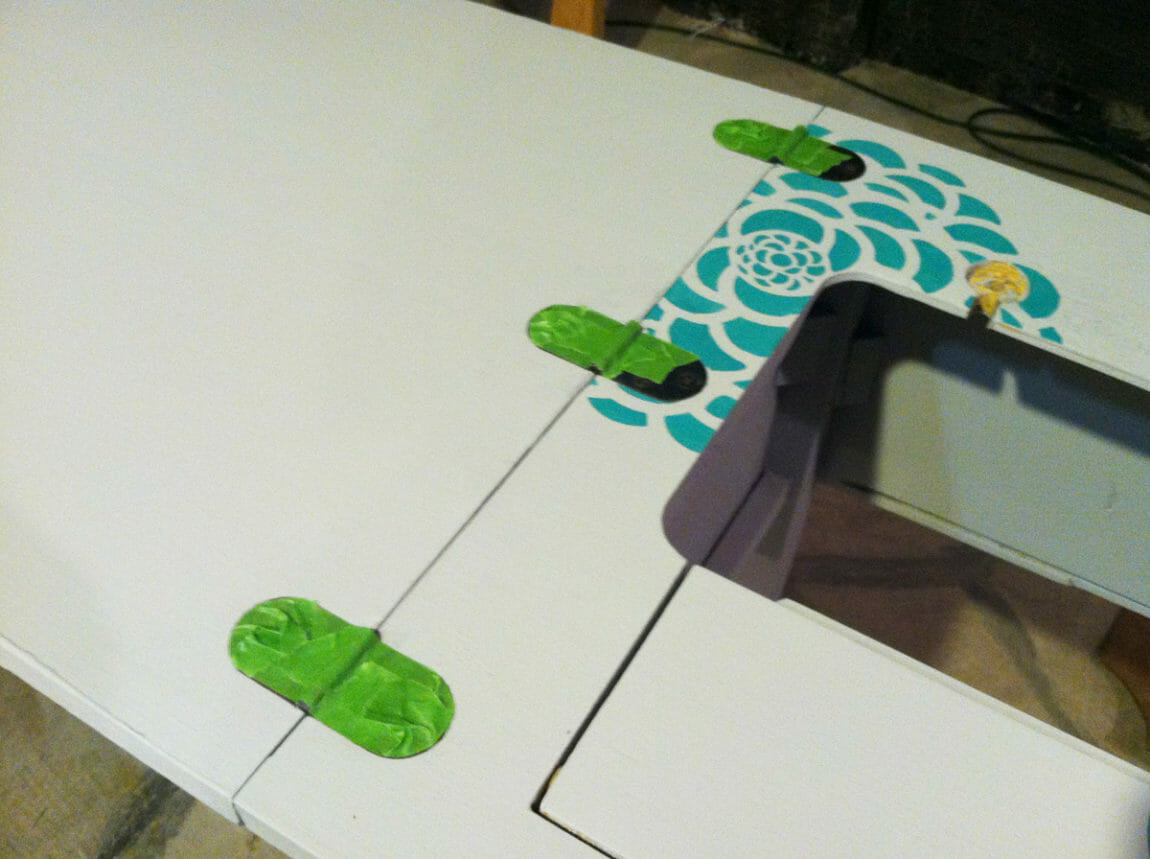
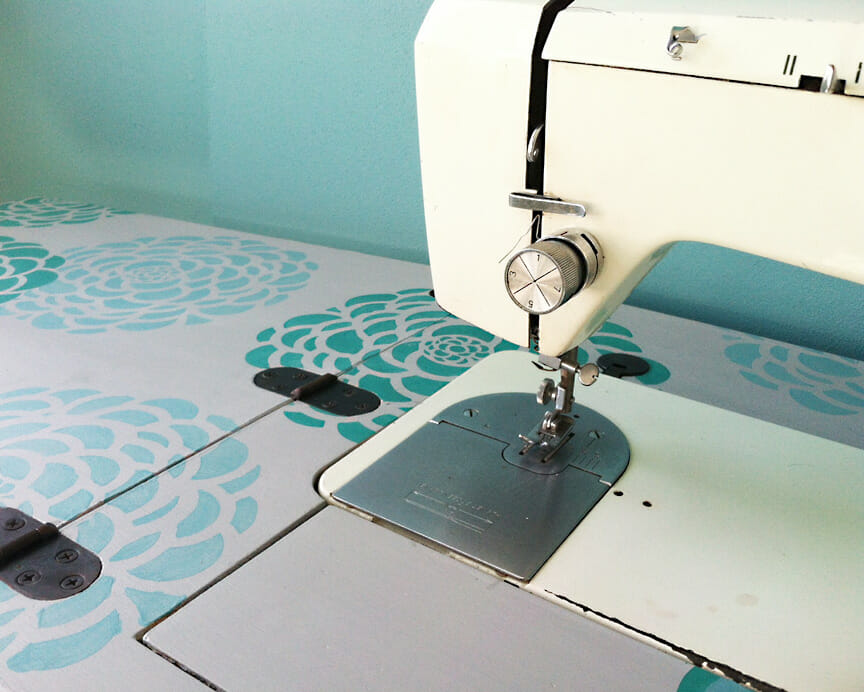
Once I was done stenciling the top of the cabinet top, I reattached it to the cabinet base and put tape over the hinges so they wouldn’t get paint on them.

Then I carefully laid the stencil over the flower I had already started to create and filled it in so the flower flows across both the cabinet base and the top flap.
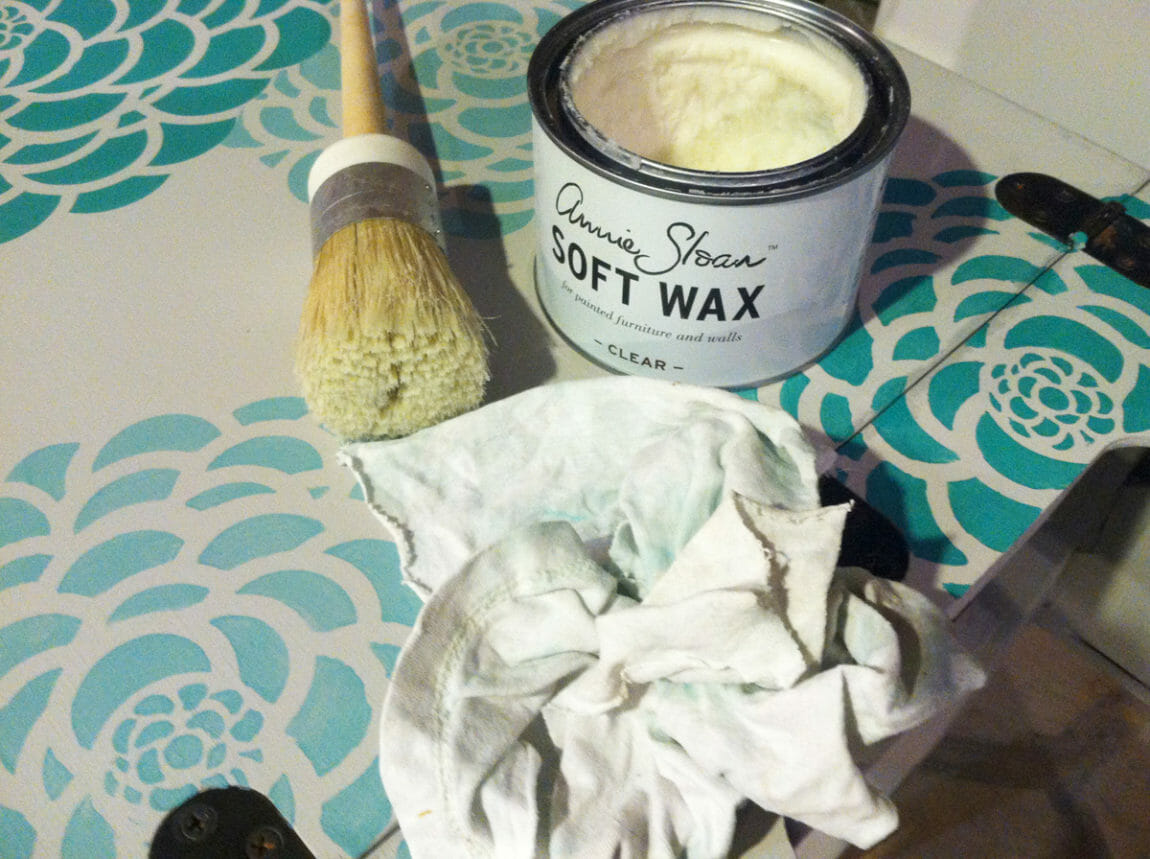
Once you’re happy with the placement of your stencils, it is time to wax your final piece, using a special wax brush and lint-free rag. I used a T-shirt.
Allow the wax to cure for a day before you put everything back together and display your piece. I just love how this cabinet turned out. Here’s some more photos so you can get inspired for your next project.


this gave me a great idea for my old cabinet. what is chalk paint?
It is a type of paint that doesn’t require sanding or prep work. It also is really easy to avoid brush strokes with chalk paint. It has a matte finish that turns to a subtle sheen one it is waxed. I really like the look of it.
How did you et his machine in the cabinet? Did he machine and cabinet come together?
Check out the first paragraph. It says the machine and cabinet were my grandmother’s.